
published on 12 November 2021
A few months ago I ordered a refurbished New Nintendo 3DS online, because my old 3DS XL wasn’t looking too good after almost 10 years of use and since I am quite fond of (and emotionally attached to) the console I wanted to get one I can still use in 10 years with a scratch-free touch screen and no spots where the paint has rubbed off.
As soon as I got it, I setup homebrew, which is basically a must for any somewhat old Nintendo console (because there’s no reason not to do it if the warranty has expired), gets you all the emulators and endless possibilities. Be careful with the Switch though (I’ve heard of frequent bans).
There was one thing that bugged me though, the charging port seemed to have some sort of loose connection, maybe the previous owner tugged on the cable too hard or the soldering is just bad. It just surprised me, because normally these devices are pretty durable, at least in my experience, they’re mostly used by and designed for children after all.
But this one was faulty in some way, so I thought about what I could do. The obvious (and only answer it seemed) was soldering a new charging port onto the PCB. I didn’t really want to do that however, mainly because I have zero experience soldering and the fear of potentially (read: very likely) bricking the device made this option rather unattractive…
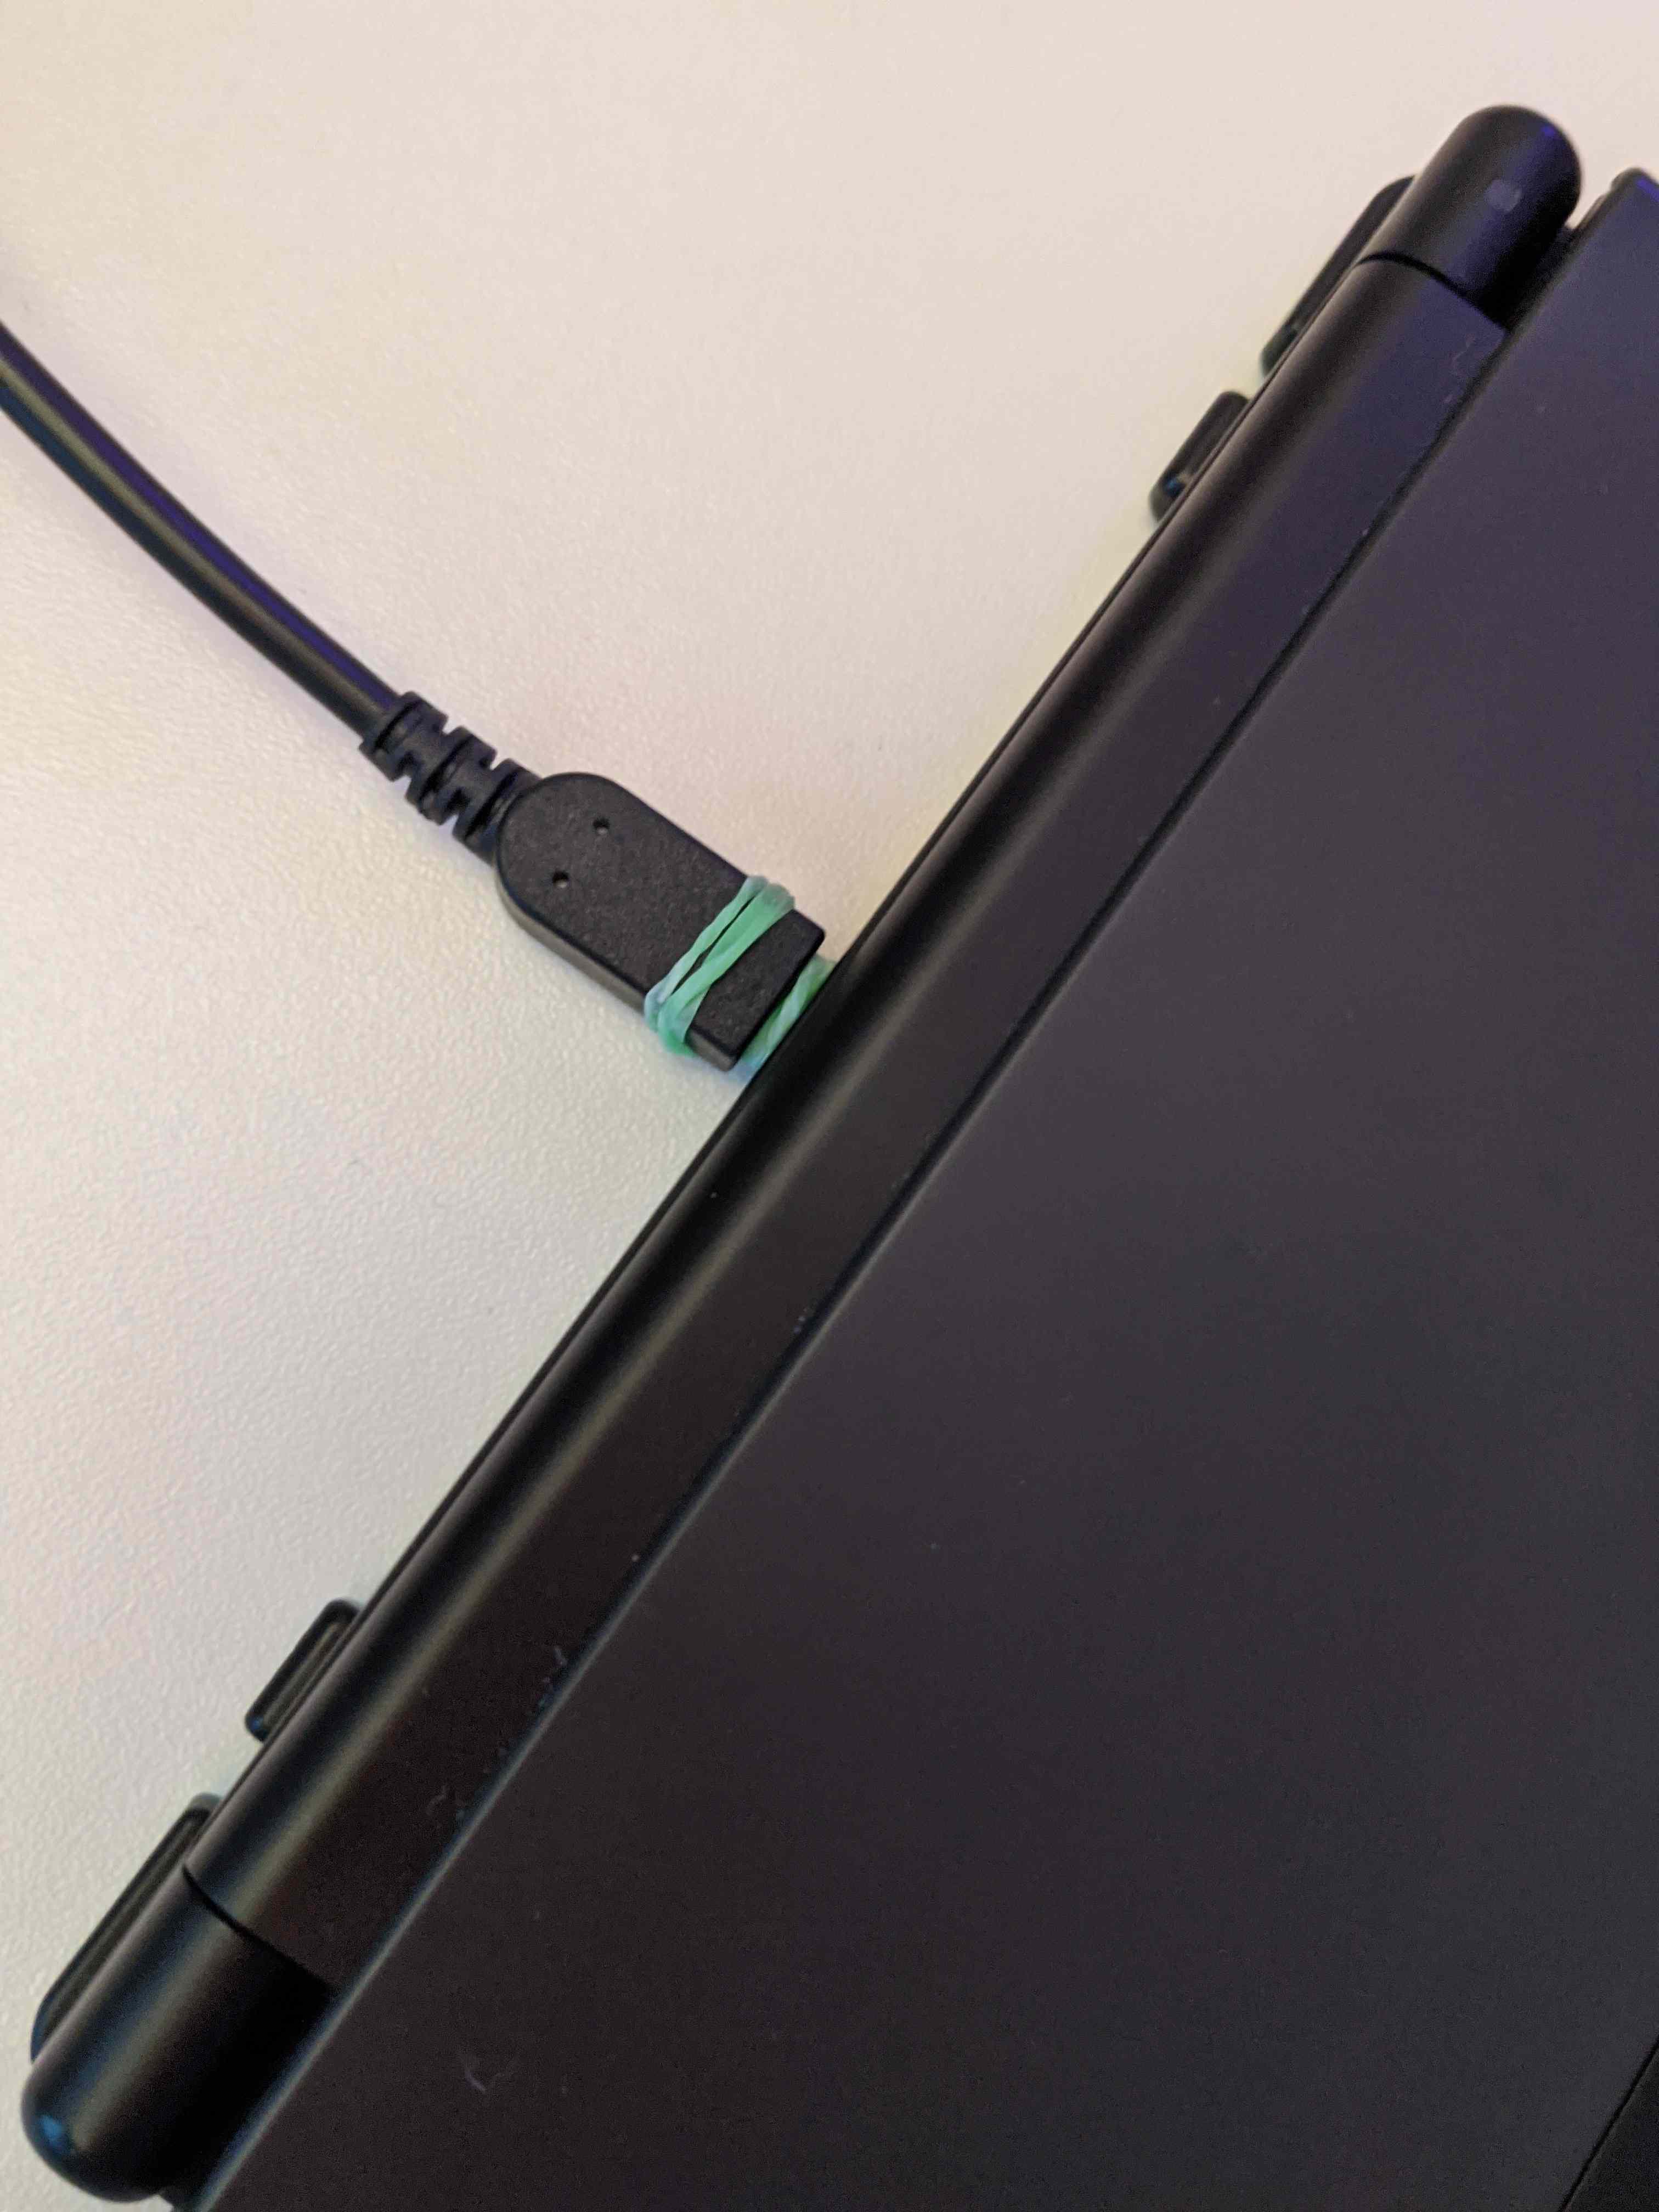
After experimenting with plugging the charging cable in at different angles I realized something: No matter the angle, if the cable is not fully inserted into the port (with a 2-3mm gap), it charges perfectly fine. Very weird.
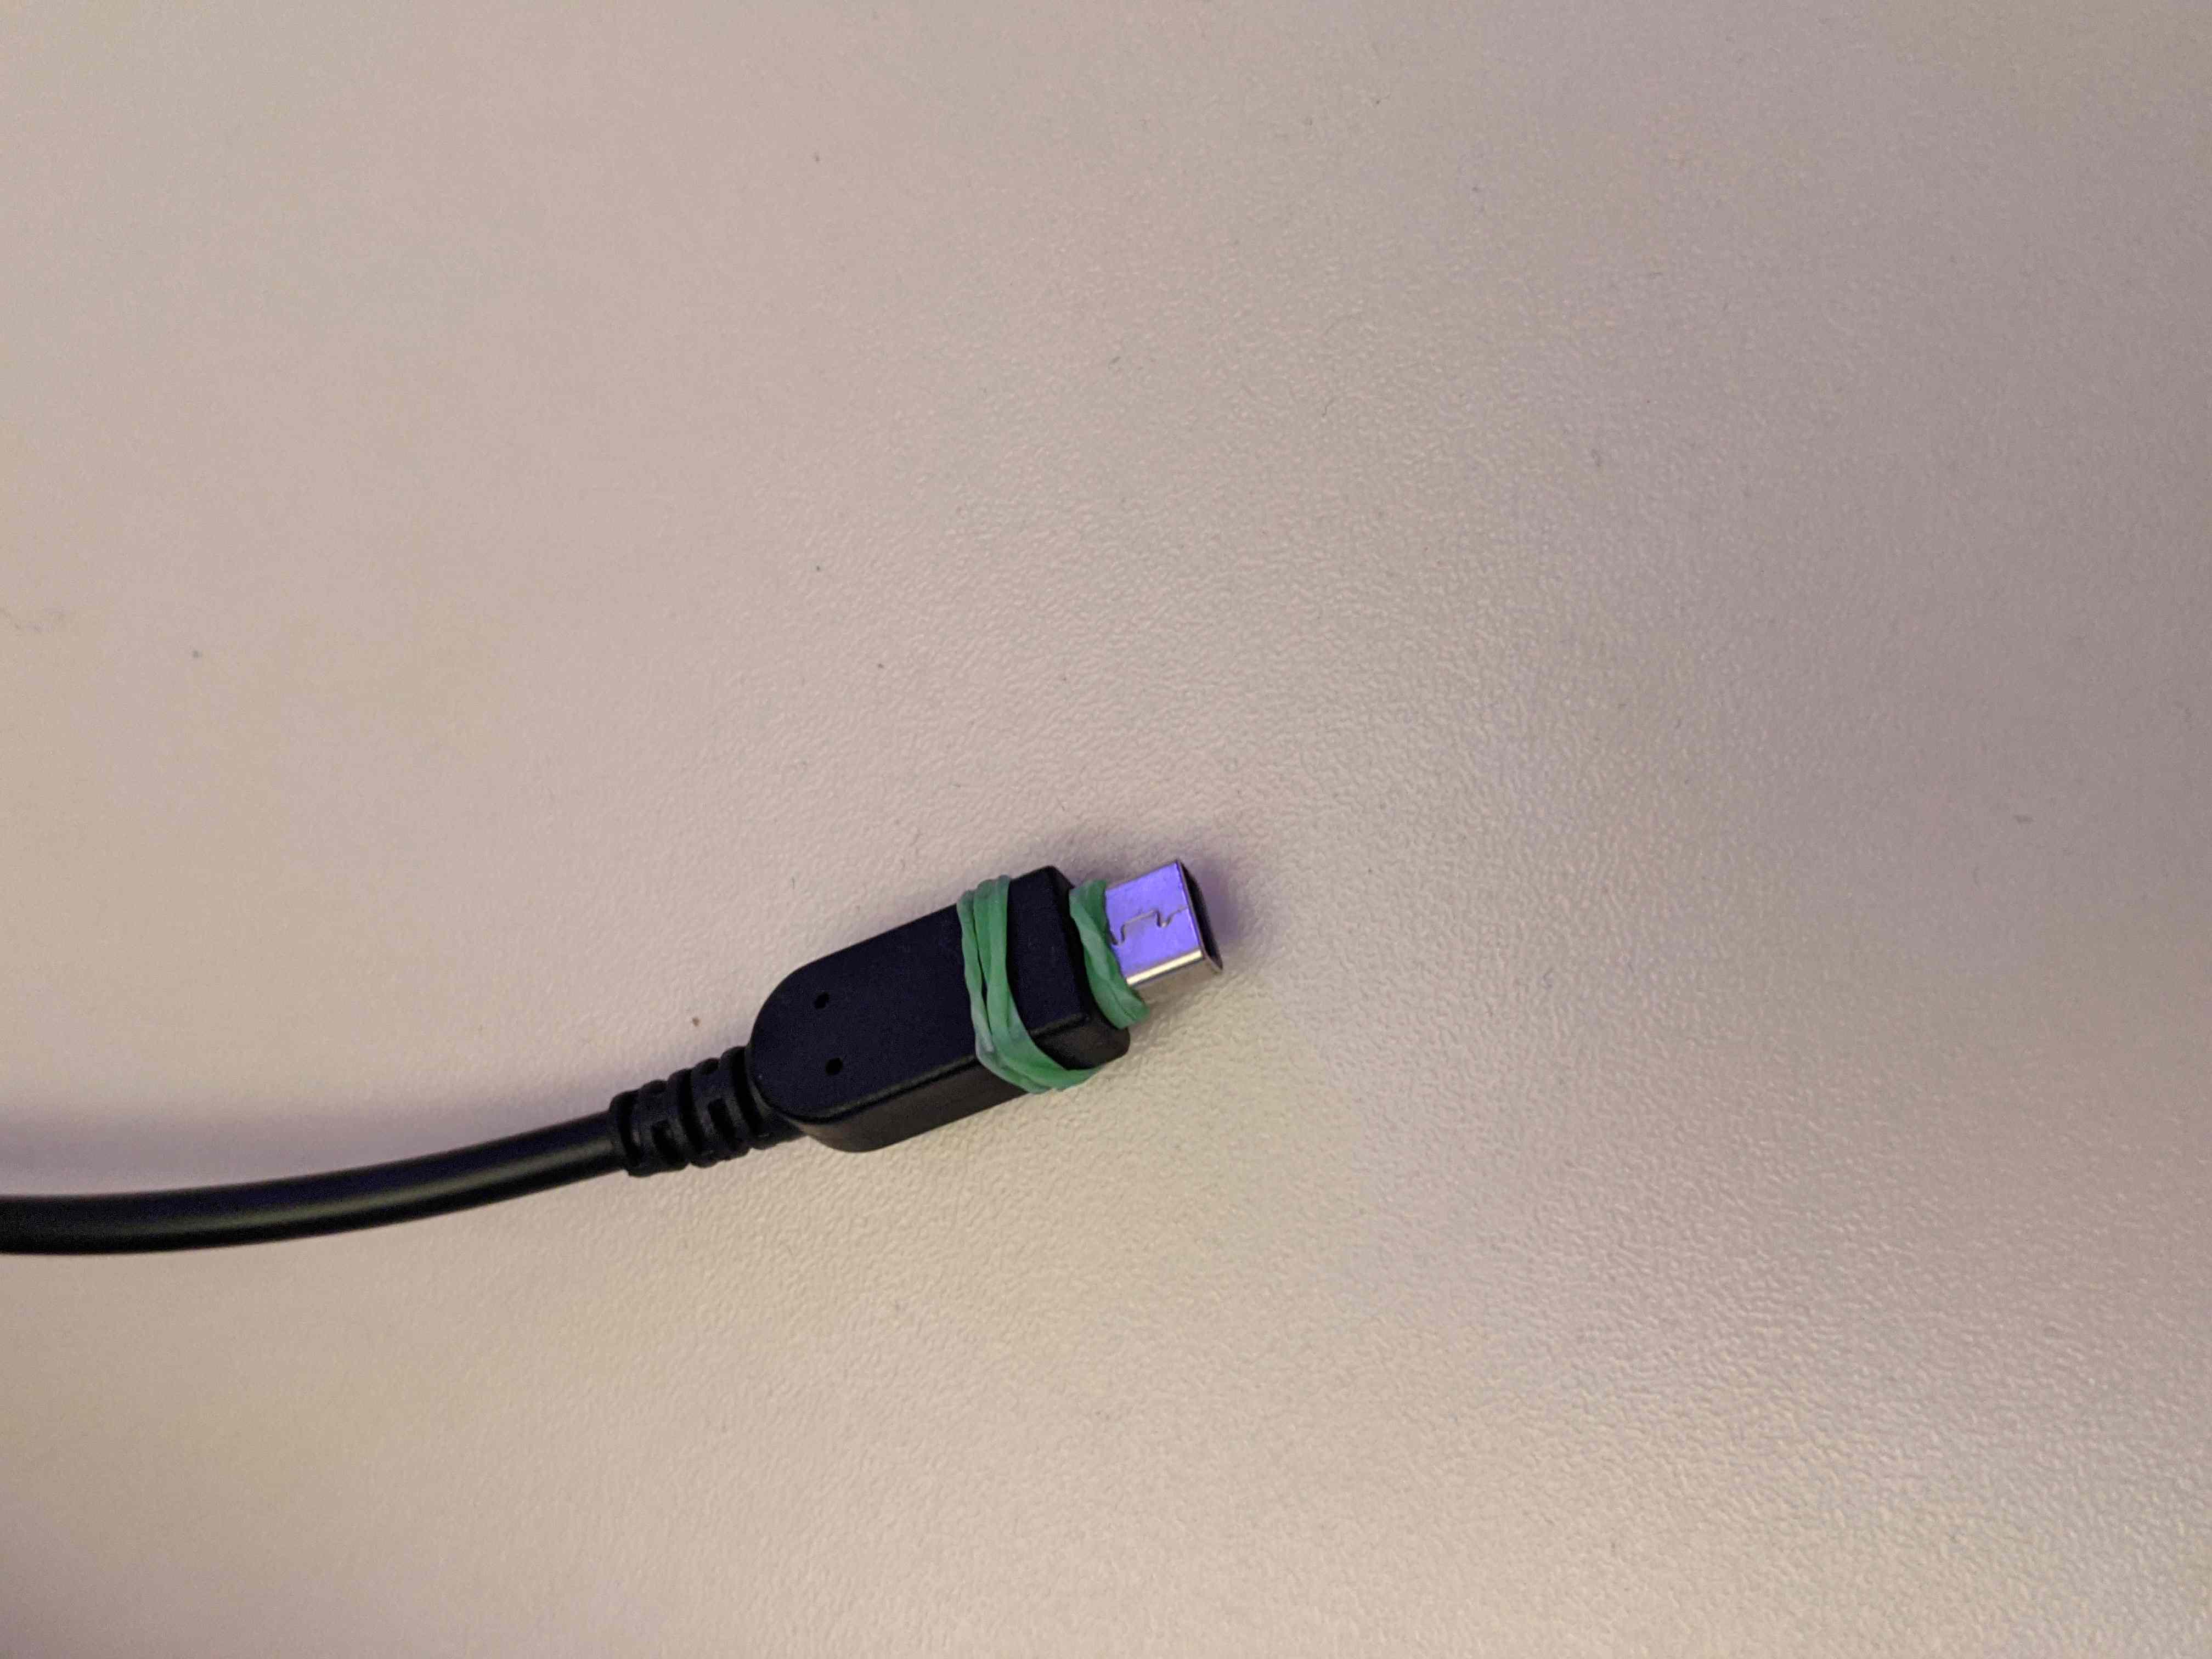
The fix I came up with is a rubber band, one of those loom bands which were really popular ~2014 is perfect, it prevents the cable from properly plugging in.
Quite dull, but eh, it works.